Weight Distribution & Sway Control
How To Set Up A Weight Distribution Hitch
Six measurements and about an hour. Do it once properly and you never think about it again; guess at it and you will blame the hitch for a year.
By Mike M. ·
How this page is funded: we earn a commission if you buy through our links, at no extra cost to you. It never changes which product we rank first. Prices come from Amazon and are read automatically — each one shows the date it was read. Full disclosure.
Quick picks
The tools this procedure needs, and the hitches it applies to.
| # | Product | Best for | Score | Price |
|---|---|---|---|---|
| 1 | 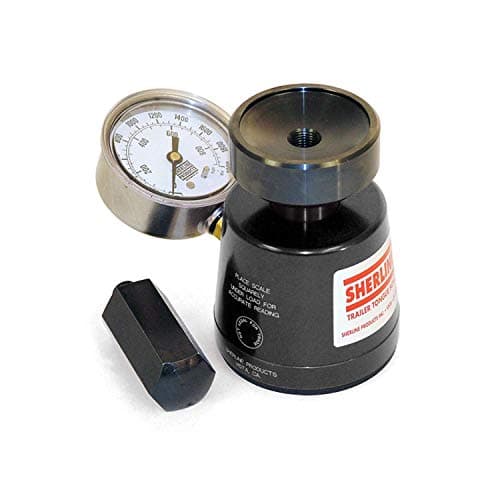 Sherline LM 2000 Trailer Tongue Weight Scale A hydraulic scale you set the coupler down on. It is the only tool here that answers the one question every hitch decision depends on, and it reads up to 2,000 lb. The tool that matters | Measuring loaded tongue weight properly, once and for all | 7.4/ 10 | |
| 2 | 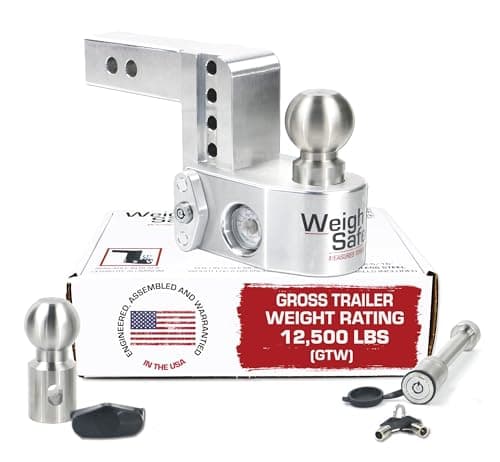 Weigh Safe Aluminum Adjustable Hitch with Tongue Weight Scale An adjustable ball mount with the scale built into the shank, so the number appears every time you couple up rather than only when you remember to get the scale out. | Seeing tongue weight every time you hook up, not once a year | 8.0/ 10 | |
| 3 | 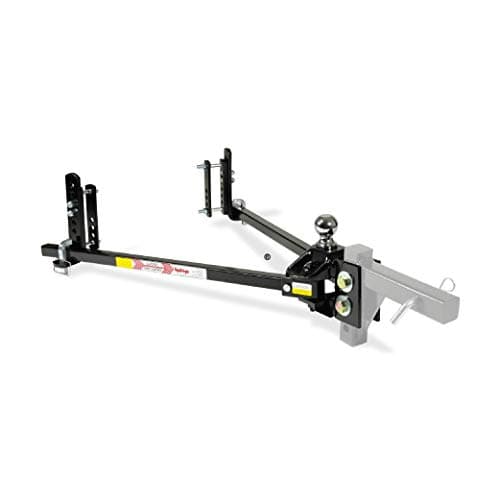 Equal-i-zer 4-Point Sway Control Hitch, 90-00-1001 Four-point sway control built into the head, so there is no friction bar to unclip before you back into a site — the single biggest quality-of-life difference for a first-timer. | Most half-ton trucks pulling a 5,000-10,000 lb trailer | 7.9/ 10 | |
| 4 | 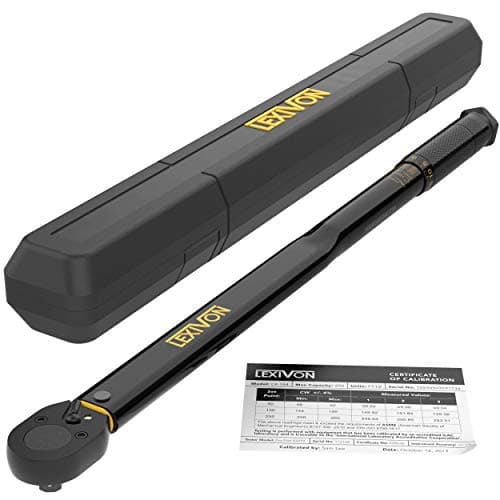 LEXIVON 1/2 in Drive Click Torque Wrench, 25-250 ft-lb Trailer wheels need re-torquing after the first 50 miles and periodically after. Guessing with a lug wrench is how wheels come off, and this covers the usual 90-120 ft-lb range. | Torquing trailer lug nuts to the number in the manual | 7.7/ 10 |
Tap any row to jump to the full write-up. Prices come from Amazon and are read automatically — see each product below for the date.
The short answer
Almost every complaint about a weight distribution hitch — harsh ride, no improvement, trailer still nose-high, bars clunking — is a setup problem rather than a product problem. Setup is a measured procedure with a right answer, and most people skip the measuring.
What you need
- A tape measure and something to write on
- Level ground — a slope invalidates every number
- The trailer loaded the way you actually travel
- A wrench set for the bracket bolts and the head bolts
- A torque wrench, because the head bolts and the ball nut have specified torques and “tight” is not one
- Ideally, your measured loaded tongue weight — from a scale or a ball mount with one built in
Allow an hour the first time. Allow two if the hitch needs assembling.
The procedure
- 1
Set the trailer coupler height
Uncouple, and with the trailer loaded, level it front to back using the tongue jack and a long level on the frame rail — not on the floor or a counter, which may not be parallel to the frame. Measure from the ground to the bottom of the coupler. This is the height your ball needs to sit at. - 2
Measure the truck, unhitched
On the same level ground, measure from the ground to the top of the front wheel arch and the rear wheel arch. Write both down. These are your reference numbers and everything else is compared against them. - 3
Pick the shank drop
Measure ground to the top inside face of the receiver tube. The difference between that and your coupler height, allowing for the ball platform thickness, is the drop or rise you need. Add about an inch of extra drop, because the truck squats under load. Lifted trucks need a dedicated high-drop shank. - 4
Assemble and torque the head
Bolt the head to the shank at the maker’s recommended starting tilt — usually a stated number of washers behind the head, which sets the bar preload. Torque the head bolts and the ball nut to the figures in the instructions. The ball nut in particular is commonly 250–450 ft-lb, which is well past hand-tight. - 5
Hitch up with no bars, and measure
Couple the trailer, latch it, and measure both fender heights again. The rear will be lower and the front will be higher than your reference. Write both down. The front rise is the number you are going to remove. - 6
Fit the brackets and bars
Clamp the A-frame brackets at the distance from the coupler the instructions specify — this is a fixed dimension, not a preference — and at a middle hole to start. Seat the bars, jack the trailer up to take the load if the design requires it, then lower. - 7
Measure a third time, and adjust
Measure both fenders. Target: the front fender back to within about half an inch of its unhitched reference. If it is still high, raise the bracket a hole (more tension). If the front has gone below its unhitched height, you have over-transferred — drop a hole. - 8
Check the trailer is level, then road test
Stand back and sight along the trailer frame. It should be level or very slightly nose-down. Then drive it: 20 minutes including a highway stretch and a tight turn. Stop and re-check the bracket bolt torque, which is the one thing that genuinely loosens on a first trip.
Reading the numbers
| Symptom | Means | Fix |
|---|---|---|
| Front fender still well above reference | Not enough transfer | Raise the bracket a hole, or add head tilt |
| Front fender below reference | Over-transferred | Lower the bracket a hole |
| Rear fender barely moved | Bars carrying too little | Check bars are seated and brackets at the specified distance |
| Trailer nose-high | Wrong shank drop | Different shank, or flip it |
| Harsh ride, numbers correct | Bars over-rated for your tongue weight | Correct bar band — see the chart |
That last row is the one people fight for months. If the geometry is right and the ride is still harsh over every expansion joint, the bars are too stiff for your tongue weight and no amount of adjustment fixes a spring rate. The band chart is the page to re-read.
The common mistake
After the first trip
Re-torque the A-frame bracket bolts after the first hundred miles or so. Painted A-frames compress slightly under the clamp and the bolts lose tension. Check the ball nut too.
Then write your final numbers — shank hole, head washers, bracket hole, bar position — on a label inside a cabinet door. You will need them the day you reassemble the hitch after storage, and you will not remember them.
What to remember
- Setup is measured, not felt. Fender heights before and after are the whole method.
- Target the front fender back to within half an inch of its unhitched height.
- Bracket distance from the coupler is a specified dimension, not a preference.
- The ball nut torque is far higher than hand-tight — use a torque wrench.
- Re-torque bracket bolts after the first hundred miles.
- If the numbers are right and the ride is harsh, the bars are over-rated for your tongue.
The picks in full
Sherline LM 2000 Trailer Tongue Weight Scale
Sherline · Best for measuring loaded tongue weight properly, once and for all
A hydraulic scale you set the coupler down on. It is the only tool here that answers the one question every hitch decision depends on, and it reads up to 2,000 lb.
Key specifications
- Capacity
- 2,000 lb
- Type
- Hydraulic dial gauge
- Use
- Jack the coupler down onto the scale
- Power
- None — mechanical
How it scored
- How often you use it (40%)9
- Build quality (25%)9
- Takes up little room (20%)4
- Price for capability (15%)5
Weighted average of the figures above. We did not test this product — see how we pick.
What it does well
- Gives you the loaded number, not the brochure dry number
- No batteries, no calibration routine, no app
- Capacity covers essentially every bumper-pull trailer
What it is bad at
- Expensive for a tool most people use twice a year
- Bulky to store
- You need level ground and the coupler at the right height to read it accurately
Price as of October 5, 2026. #ad How this is funded
Weigh Safe Aluminum Adjustable Hitch with Tongue Weight Scale
Weigh Safe · Best for seeing tongue weight every time you hook up, not once a year
An adjustable ball mount with the scale built into the shank, so the number appears every time you couple up rather than only when you remember to get the scale out.
Key specifications
- Gross trailer weight
- 12,500 lb
- Drop
- 4 in adjustable
- Balls
- Stainless 2 in and 2-5/16 in
- Receiver
- 2 in
- Extras
- 2-piece lock set included
How it scored
- Rated capacity (25%)8
- Adjustability (25%)9
- Security (20%)8
- Build quality (15%)8
- Price for capability (15%)6
Weighted average of the figures above. We did not test this product — see how we pick.
What it does well
- Measures tongue weight as part of hooking up — zero extra effort
- Dual stainless balls cover both common coupler sizes
- Adjustable height, so one mount fits two trailers
What it is bad at
- The gauge reads loaded tongue weight at the ball, which is not identical to a scale under the coupler
- Aluminum body scratches easily
- Expensive for a ball mount
Price as of October 5, 2026. #ad How this is funded
Equal-i-zer 4-Point Sway Control Hitch, 90-00-1001
Equal-i-zer · Best for most half-ton trucks pulling a 5,000-10,000 lb trailer
Four-point sway control built into the head, so there is no friction bar to unclip before you back into a site — the single biggest quality-of-life difference for a first-timer.
Key specifications
- Trailer weight rating
- 10,000 lb
- Tongue weight rating
- 1,000 lb
- Sway control
- 4-point, integral to the head
- Included
- Weight distribution kit; shank and ball sold separately
Capacity figures read from Equal-i-zer product specifications, October 2026.
How it scored
- Sway control (25%)9
- Tongue-weight range (20%)8
- Backing up (20%)9
- Setup effort (15%)7
- Quietness (10%)5
- Price for capability (10%)7
Weighted average of the figures above. We did not test this product — see how we pick.
What it does well
- Sway control is always on — nothing to remember, nothing to remove
- Back up and turn sharply without unhooking anything
- Bracket height is adjustable in the field with a wrench, not a shop visit
What it is bad at
- It creaks and groans in tight turns; owners report this consistently and it is normal, not a fault
- Needs a shank and ball bought separately, which catches people out on price
- Heavier to lift onto the coupler than a friction-bar setup
Price as of October 5, 2026. #ad How this is funded
LEXIVON 1/2 in Drive Click Torque Wrench, 25-250 ft-lb
LEXIVON · Best for torquing trailer lug nuts to the number in the manual
Trailer wheels need re-torquing after the first 50 miles and periodically after. Guessing with a lug wrench is how wheels come off, and this covers the usual 90-120 ft-lb range.
Key specifications
- Drive
- 1/2 in
- Range
- 25-250 ft-lb
- Type
- Click type
- Case
- Included
How it scored
- How often you use it (40%)9
- Build quality (25%)7
- Takes up little room (20%)5
- Price for capability (15%)9
Weighted average of the figures above. We did not test this product — see how we pick.
What it does well
- Covers every trailer lug torque spec you will meet
- Click type is the easiest to use correctly without training
- Cheap enough to justify for two uses a year
What it is bad at
- Needs to be wound back to zero after use or it drifts out of calibration
- No calibration certificate at this price
- Heavy and long — it lives in the truck, not the trailer
Price as of October 5, 2026. #ad How this is funded
Common questions
Tension is set by bracket height, and the target is measured at the truck: the front fender back to within about half an inch of its unhitched height. Below that height means you have over-transferred.
The maker specifies it — commonly around 30 in from the ball to the bracket — and it should be measured. Getting it wrong changes the bar angle and the whole setup behaves oddly.
Level, or very slightly nose down. Nose-high moves load rearward and reduces tongue weight percentage, which makes the trailer sway-prone.
No. Once bracket height, head tilt and shank position are set, hooking up is just coupling and seating the bars. Re-check if you change the loading significantly or change tow vehicles.
Sources
- Equal-i-zer published hitch specifications and bar ratings — read October 2026
- SAE J684 — trailer couplings, hitches and safety chains — read October 2026
- SAE J2807 — tow-vehicle gross combination weight rating procedure — read October 2026
- 49 CFR 393.70 — coupling devices and towing methods — read October 2026